
Access Using the Windows App (Best Performance)
|
1 |
Step 1: Install the Windows App Windows App from the Microsoft Store
|
|
|
2 |
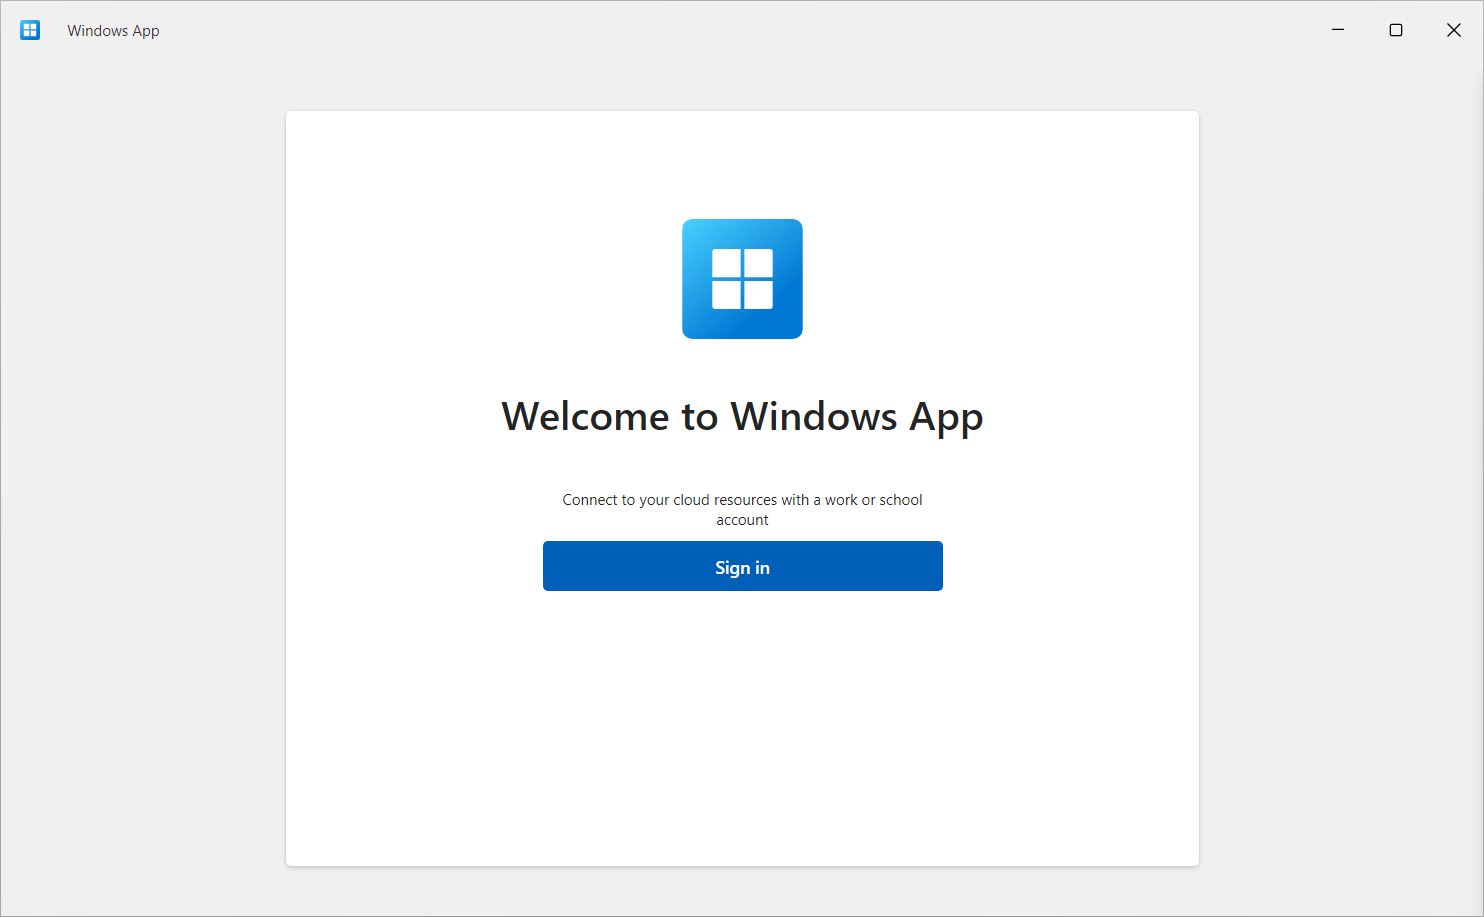
Step 2: Select Sign in and sign in with your user account for Azure Virtual Desktop. If you're signed in to your local Windows device with a work or school account on a managed device, you're signed in automatically.
|
|
|
3 |
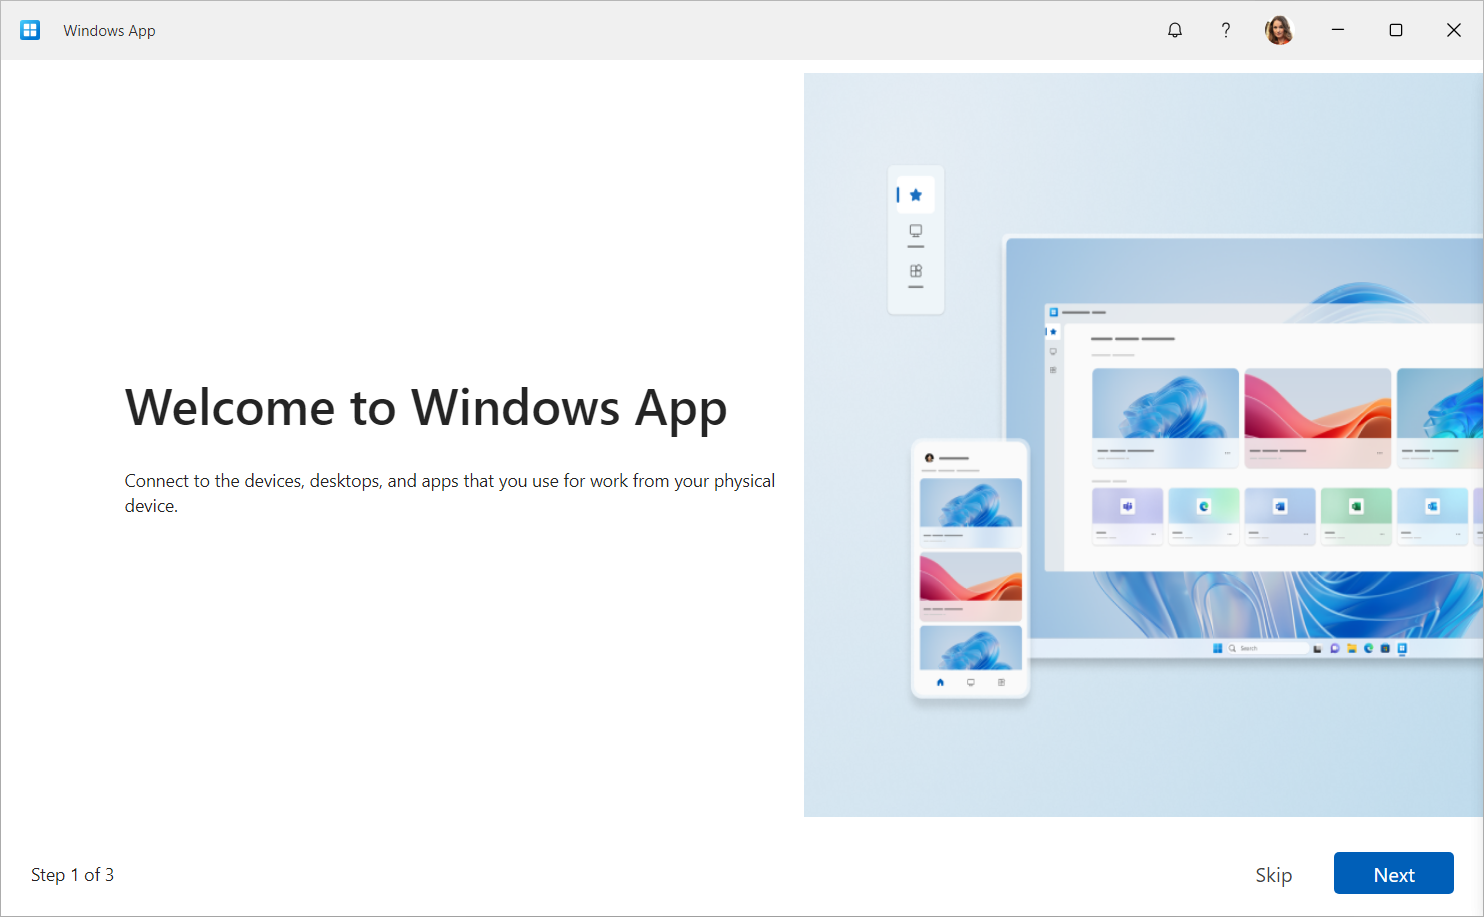
Step 3: If it's your first time using Windows App, navigate through the tour to learn more about Windows App, then select Done, or select Skip. |
|
|
4 |
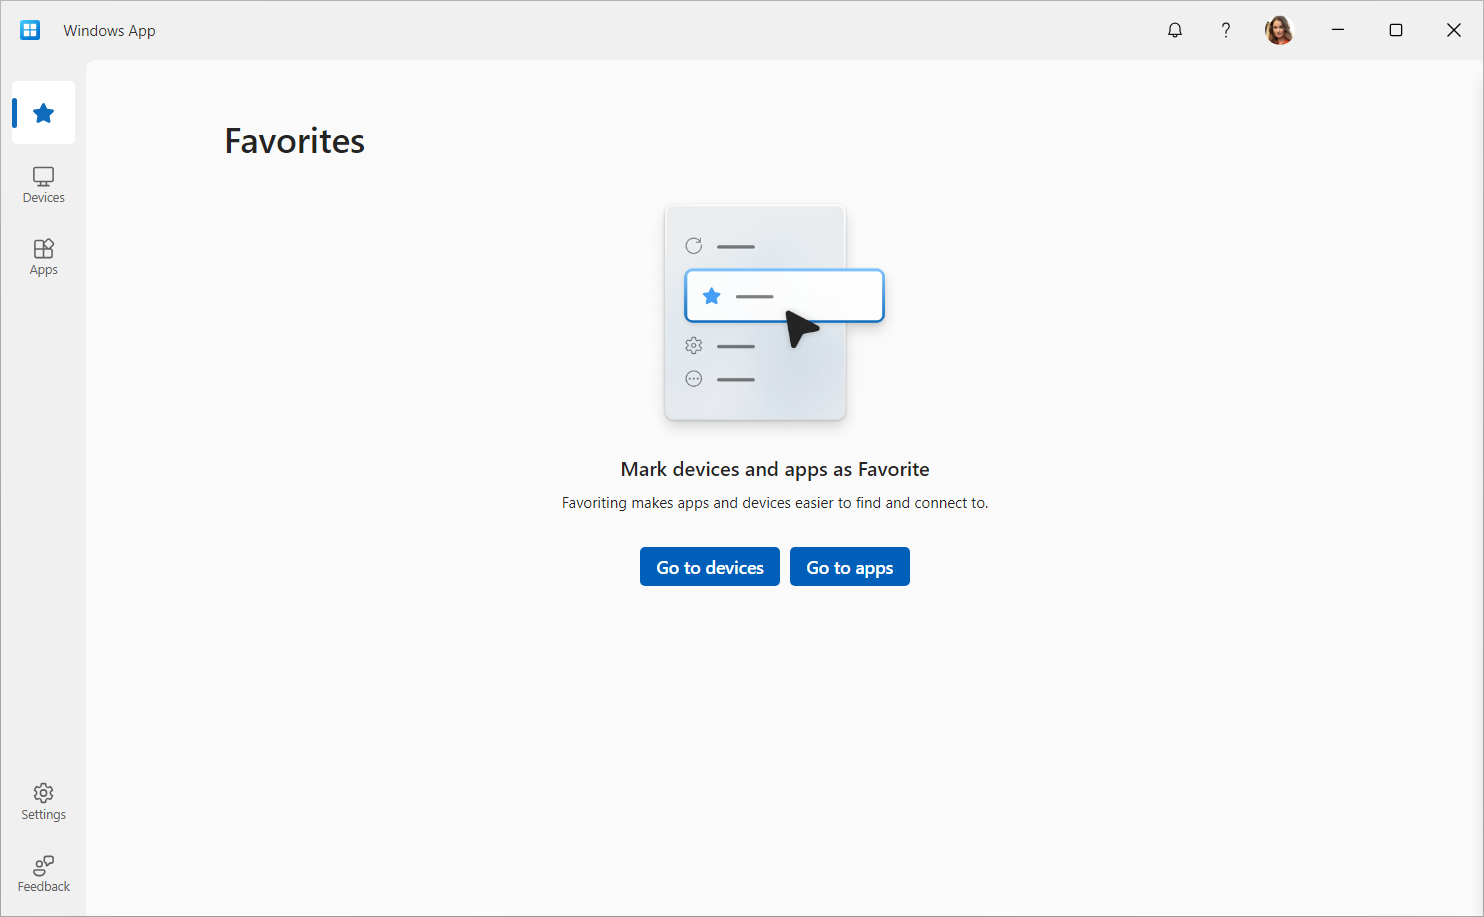
Step 4: After you sign in, select Devices or Apps tab to show your remote resources from Azure Virtual Desktop and any other services you have access to. Tabs are hidden if you don't have that type of resource assigned to you. If you don't see any devices or apps, contact your administrator. |
|
|
5 |
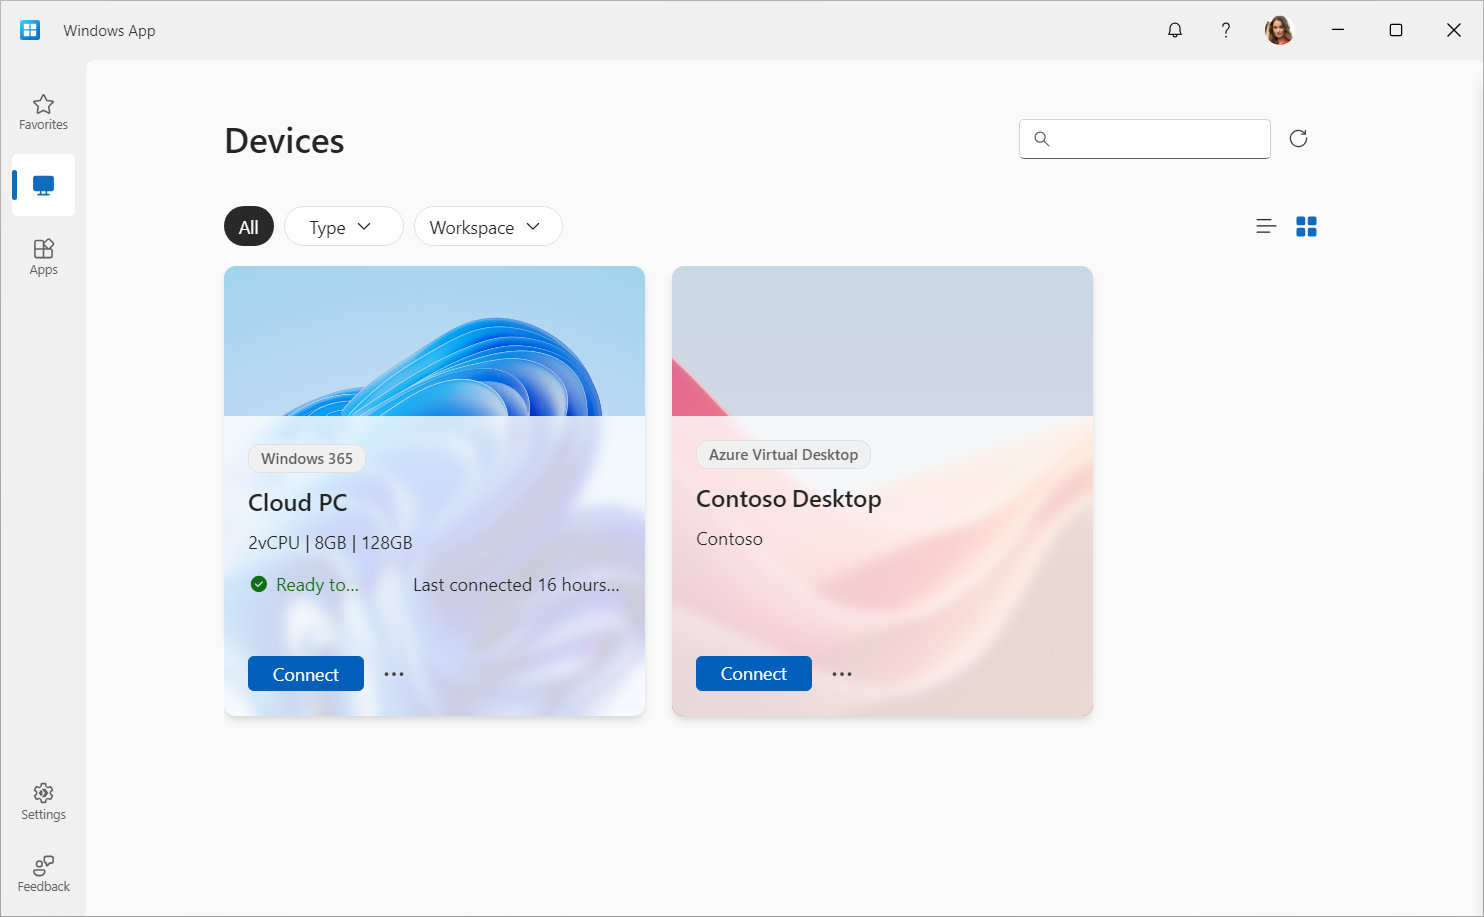
Step 5: Find the device or app you want to connect to. You can use the search box and filters to help you. |
|
|
6 |
Step 6: Select Connect on a device, or select an app to connect. You might be prompted to enter the password for your user account again, depending on how your administrator configures Azure Virtual Desktop. |
|
|
7 |
Step 7: Once the connection to your device or app is complete, you're ready to start using it. |
|